
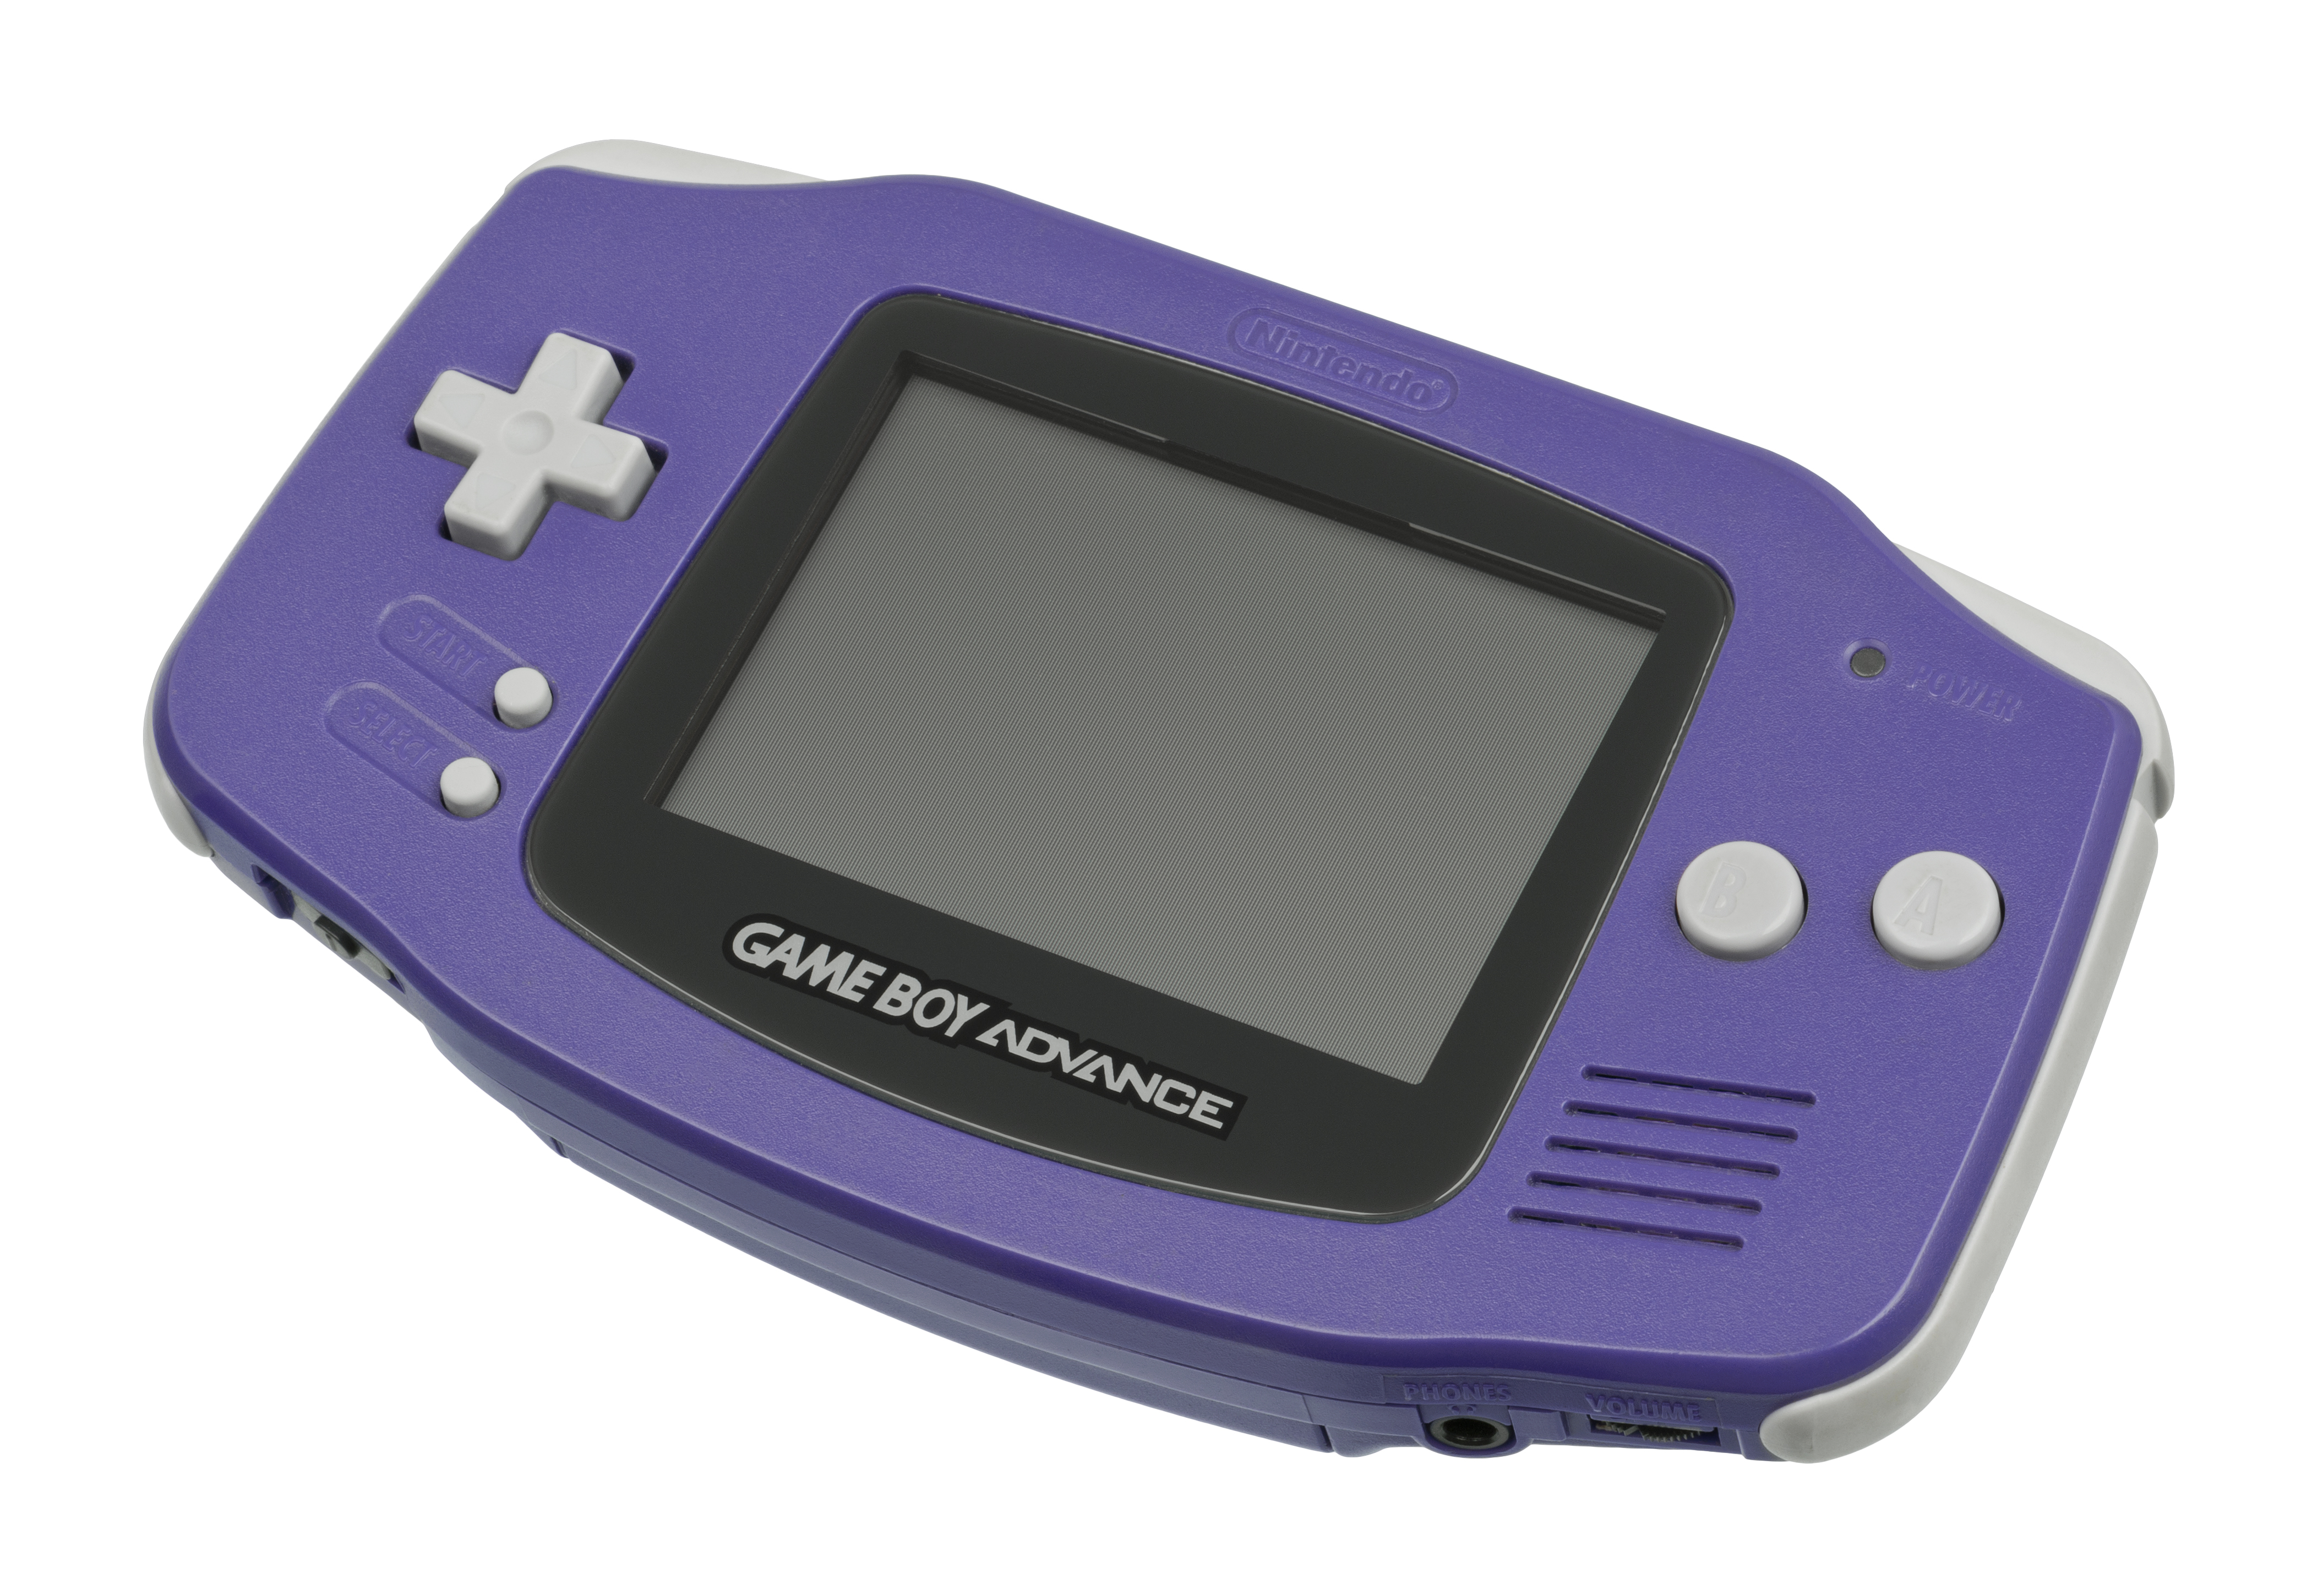
Nintendo’s first 32-bit system in handheld format. In addition to the change to a landscape format, the system also added L and R buttons. Like the Game Boy Color, the Game Boy Advance was fully backwards compatible and can play all official Game Boy and Game Boy Color games. Some later Game Boy Color games even added Game Boy Advance enhancements in the form of changed palettes and extra features. The Game Boy Advance and Game Boy Color however run on different voltages. To make the system backwards compatible the system actually has much of the hardware of a Game Boy Color, with a switch in the cartridge slot determining which hardware will run when the system is turned on.
Table of Contents:
Last Content Revision: 2022-11-20
Mods
Backlight Kits - Summer 2023
Flustered by this backlight list? Why not check out this more comprehensive guide from /u/Admiral_Butter_Crust on all the different backlight kits for CGB. Only current or relevant backlight kits are listed below, sorted by desirable features.
- FunnyPlaying Laminated IPS 3.0” Kit. The successor to the 9380 kit using a new IPS panel with a 3.0” viewing window. Kit only requires soldering for optional brightness controls The functions are accessible via the touch sensor. [Video Guide]
- Matching shells are required and available in a huge variety of colors. Sold at FunnyPlaying, RetroModding, and Retro Game Repair Shop.
- IPS kit sold at FunnyPlaying, RetroModding, and Retro Game Repair Shop.
- FunnyPlaying also manufactures matching very high quality buttons and membranes. A selection of high quality IPS-ready lenses are also available. Sold at FunnyPlaying and Retro Game Repair Shop.
- Matching shells are required and available in a huge variety of colors. Sold at FunnyPlaying, RetroModding, and Retro Game Repair Shop.
- Cloud Game Store 3.0” IPS Kit. A kit designed to be no-cut installed into an original shell. Due to some OEM shell variants, some cutting is recommended to set the panel level inside the screen area. This kit includes alignment spacers for installation. Soldering is required for power. Touch sensor toggles brightness, color palettes, and pixel effects Lens is included with the kit. [Video Guide]
- IPS kit sold at AliExpress and Retro Game Repair Shop.
- Cloud Game Store also manufactures shells designed to fit OEM screens and therefore this IPS kit. The mold is very high quality but has a high gloss texture. Sold at AliExpress and Retro Game Repair Shop.
- Cloud Game Store manufactures very high quality buttons and membranes. Buttons match OEM texture. Membranes have near new OEM feel. Sold at AliExpress and Retro Game Repair Shop.
- FunnyPlaying Laminated ITA TFT Kit. A unique kit using a Nintendo DSi lower screen panel. Due to the age of the panel, the image is not scaled and matches the look and response of an AGS-101 screen. Soldering is optional for viewing window adjustment. Brightness control is through touch sensor. [Video Guide]
- Kit sold at FunnyPlaying, Retro Game Repair Shop, Zedlabz and Retro Modding.
- A matching shell is required. Sold at FunnyPlaying, RetroModding, Retro Game Repair Shop, and as complete kits on AliExpress.
- Hispeedido IPS with AV Out. A unique kit that uses the 9380 panel and a custom driver that allows composite AV out. Requires soldering for brightness controls and fine board rework for the AV out function. Touch sensors toggle palettes and brightness. [Video Guide]
- IPS kit sold with a shell at AliExpress. Sold separately at Retro Game Repair Shop
- As this kit uses the 9380 panel, it is compatible with the FunnyPlaying shells. Hispeedido manufactures their own shells, but it is of notable quality difference. Sold separately at Retro Game Repair Shop.
- IPS kit sold with a shell at AliExpress. Sold separately at Retro Game Repair Shop
Audio Mods
-
Note on “Power Cleaners”. These mods from various vendors often result in more issues than they resolve, especially for beginner modders. Consider cleaning the power switch properly, cleaning the volume wheel with contact cleaner, and replacing the capacitors if deemed faulty. These mods should not be considered unless other repairs have been performed first.
- Audio amplifier. Note: Amplifiers amplify everything. Some Game Boys are inherently noisey. They are decades old toys designed to be as cheap as possible.
- Cloud Game Store. A “wire-free” amplifier. Simple install. Amplifier powers off when headphones are inserted. Also sold at Retro Game Repair Shop.
- Helder’s Game Tech. A “wire-free” amplifier. Simple install with a large capacitor on the 3v3 VDD3 rail. Also sold at RetroModding.
- Replacement Speaker. Note: Typically bad speakers are a sign of other issues with the console. Refer to the common problems for additional information.
- Drop in replacement speakers are available from FunnyPlaying and Cloud Game Store. These are OEM shaped and specification. No shell modification is required. Also available at Retro Game Repair Shop and RetroModding. Generic 1-2W speakers are also available but typically require a printed ring to fit correctly. Written Guide
Battery and Power Mods
- USB Rechargeable Lithium Batteries Several options are available from multiple manufacturers. OEM and aftermarket shells with the battery divider support rib need to be removed and cut flat to prevent damage to the lithum cell.
- RetroModding USB-C Battery Supports play and charge with a well designed circuit. Designed for no shell modification and charging with the battery cover open. A cut battery cover allows for play and charge access.
- FunnyPlaying USB-C Battery Supports play and charge. Designed to use a matching battery door with a molded port cutout.
- Helder MegaBat and OC USB-C Battery are both TP4056 based and do not support charge and play.
- DIY Solutions As all DIY mods, care should be taken with fully understanding the components used. The TP4056 does not support play and charge. Caution should be taken with lithium batteries. OEM and aftermarket shells with the battery divider and support rib need to be removed and cut flat to prevent damage to the lithum cell.
- TP4056 does not have any regulated output and thus needs some sort of voltage reduction to output the appropriate 3V for the Game Boy. Typically a diode is used to reduce voltage. There are inherent inefficiencies with this technique. Written Guide
- LED Battery Gauge for lithium modded consoles. Youtube
- Internal NiMH Charger uses a unique charge board to charge NiMH batteries while still in the console. Video Guide
Shell and Other Mods
- Aftermarket Shells These will vary in quality across the market. Only listing quality shells with noteworthy features.
- FunnyPlaying manufactures near OEM quality shells, buttons, and membranes. Lenses sold by FunnyPlaying are IPS-ready viewing windows. Available in a wide variety of colors. There are currently three molds from FunnyPlaying, original 9380 IPS-ready, 9380 IPS/ITA-ready, laminated. Be sure the shell you are getting matches the backlight kit you are ordering. IPS/ITA-ready shells require a minor trim of alignment pins.
- Shells sold at FunnyPlaying, RetroModding, and Retro Game Repair Shop.
- Buttons, membranes and lenses sold at FunnyPlaying and Retro Game Repair Shop.
- Cloud Game Store also manufactures near OEM quality shells, buttons, and membranes. Lenses are OEM viewing window and the highest quality reproductions. Their shells are designed for OEM screens and backlight kits that fit in the OEM opening such as their own. Note their shells are glossy and smooth, differing from OEM and other aftermarket shell textures.
- Sold at AliExpress and Retro Game Repair Shop.
- Buttons and membranes. Buttons match OEM texture. Sold at AliExpress and Retro Game Repair Shop
- eXtremeRate manufactures a unique shell with fitment options for both 9380 IPS non-laminated kits and OEM kits. A small cut is required for 9380 IPS fitment. While comparitively expensive, the shell includes high quality buttons and membranes and a plastic lens. Only aftermarket shell to include a matching link port cover. Sold at Amazon
- Boxy Pixel Aluminum shell with optional aluminum buttons. Designed for 9380 IPS non-laminated kits only. Sold at Boxy Pixel Written Guide
- FunnyPlaying manufactures near OEM quality shells, buttons, and membranes. Lenses sold by FunnyPlaying are IPS-ready viewing windows. Available in a wide variety of colors. There are currently three molds from FunnyPlaying, original 9380 IPS-ready, 9380 IPS/ITA-ready, laminated. Be sure the shell you are getting matches the backlight kit you are ordering. IPS/ITA-ready shells require a minor trim of alignment pins.
- Consolized Game Boy Advance Various methods to turn your GBA into a TV game console. Intermediate to advance modding skill may be required.
- Gamebox Systems GBHD Advance Sold as an assembled console or parts for assembly. Enclosure is FDM 3D printed. Uses SNES and SNES compatible controllers.
- Woozle GBA Consolizer Sold as an assembled console or parts for self assembly. Enclosure is FDM 3D printed. Uses SNES and SNES compatible controllers.
- zwenergy GBAHD Complete self assembly and self provided enclosure. Code for the Spartan Edge Accelerator FGPA development board is provided.
- Mancloud has several variations for this project to include a custom shield with added features. Kits are sold by Retro Upgrades UK. Shell designs are availabe from jotheripper
- Zekfoo has a unique all-in-one approach for the project that requires transplanting the CPU, cart slot and other components from a GBA PCB onto a custom shield for the Spartan Edge Accelerator. Laser Bear has a custom shell for this project.
- For the above projects, InsideGadgets produces a Wireless RX board that recieves inpues from their TX Carts. This allows the console to recieve inputs from another Game Boy Advance.
- Video Out Various methods of getting video out from the GBA. Differs from consolizers as they are battery powered.
- OC HDMI out kit with dock A convoluted setup with various parts to make a HDMI out capable console and a dock that allows for SNES-compatible controls. Video Guide for the HDMI out and dock.
- HDMI kit sold at Aliexpress and Retro Game Repair Shop.
- Dock sold at Aliexpress and Retro Game Repair Shop.
- OC TV out IPS kit A unique 9380 IPS kit with a special link cable that allows for composite out from the Game Boy Advance.
- InsideGadgets VGA out May come in an out of stock due to demand and chip supply.
- OC HDMI out kit with dock A convoluted setup with various parts to make a HDMI out capable console and a dock that allows for SNES-compatible controls. Video Guide for the HDMI out and dock.
- Overclock module will increase the clock speed of the console thus speeding up games. Useful for slower RPGs.
- GBAccelerator sold at Retromodding. Written Guide
- GBA ClockxControl from InsideGadgets. Video Guide
Problems
Don’t forget that the common problems section also has more info, such as failure to power on or speaker issues.
Cannot load games after AGS-101 screen install (or other backlight kit)
- What is it? The Game Boy will freeze upon booting and will refuse to load any games after installing a backlit LCD (AGS-101). This is caused by the metal shielding on the back of the LCD making contact with the pins on the cartridge connector on the front of the motherboard.
- How do I fix it? Simply add some insulating material between the LCD and the motherboard itself. A small piece of electrical tape is usually enough to physically separate the components.
Power LED is always RED
Power LED is always red, even on new batteries or LED will flicker / will restart randomly or if jolted.
- What is it? Both of these issues are usually caused by the same problem. The power switch on the console tends to accumulate dirt and gunk and will make poor contact. This will result in your Game Boy getting worse battery life and it will significantly decrease the reliability.
- How do I fix it? You’ll need to clean or replace the power switch. Please see the “Common Problems” section for more info.
Original screen or AGS-101 LCD colors are washed out
- What is it? OEM Game Boy screens (all of them, including the Micro) must be calibrated to the console by adjusting the trimpot on the motherboard.
- How do I fix it? Remove the rear cover or the sticker directly adjacent the battery cover and right next to the cart slot, you should see a small trimpot that looks like a large cross head screw. Adjust that slowly and check to see if the image on screen improves. The trimpot is very delicate and highly succeptible to damage so extreme care must be taken. GO SLOW. If you have access to a flash cart, running the “AGS AGING” ROM (search on TCRF) will make things significantly easier. Nintendo has an internal test tool that can be loaded and one of the images displayed by the tool will cause the LCD to flicker if it is not calibrated. Simply display this image on screen and adjust the trim pot until the image stops flickering. Note that this does NOT apply to any IPS kits that include their own LCD power regulators. This only applies to OEM screens and mods that use OEM screens.