All of these issues are covered in the relevant console page (most with more info) but this is just a quick document to detail the most common issues.
Table of Contents:
Game Pak Problems
This section only really applies to OEM Game Paks and has little bearing on bootleg or aftermarket hardware. Check out this visual guide or even the /r/gameverifying wiki to find out how to spot bootleg hardware.
Battery Replacement
How to replace a battery in a Game Boy cartridge. If you use the “tape method” you will be shunned and made fun of, simultaneously. Solder and a tabbed CR1616 (must for GBA games) or tabbed CR2025/CR2032 are required.
- Recommend using Panasonic tabbed cells. You can get tabbed CR1616 cells and tabbed CR2032 cells from digikey or tabbed CR1616 cells from Mortoff Games. These are equivalent to OEM parts and were actually the OEM for some carts.
- If you’re only doing one or two games, shipping costs can be prohibitive on the quality batteries. That’s where the no-name tabbed cells come in. Search “tabbed CR1616” or whatever size battery you’re looking for on ebay or aliexpress. You’ll likely find a pack of several for the cost of one of the above. A lot of the stores listed on the main page also carry generic cells, including Mortoff Games. Doing a replacement before the battery dies? Why not back up the save first with one of the readers from the other section of the wiki. It’s probably not worth replacing the cell if it’s less than 10 years old or more than 3.0v when measured in circuit with a multimeter.
- Game Boy and Game Boy Color games mostly used tabbed CR1616 cells with some notable exceptions like Pokémon Crystal which used a CR2025. All standard sized carts should fit a tabbed CR2032 sized battery with no issue or a CR2025. The bigger the battery, the higher the capacity.
- Note on GBA games – the above process is identical but a tabbed CR1616 must be used and the games are secured by a tripoint screw instead of a game bit screw. If your game is not one of the following on this list it does not need a battery to save. If it has a battery anyway and is not on that list, it’s likely a reproduction or bootleg cartridge.
Additional note on the Pokemon games, specifically Ruby, Sapphire, and Emerald
The battery is not required for saving but instead for the Real-Time Clock (RTC) hardware. Without this battery, certain in-game events will not work such as Shoal Cave tides or berry growing. If this battery is dead, upon starting the game, you’ll get a message that “The internal battery has run dry.” but everything else (aside from RTC based events) should still work normally, including saves.
Due to a quirk with the initilization of the RTC hardware, if you replace the battery in one of these games without deleting your save, your RTC still may not work despite the error message no longer occuring on the main menu. While not the exact same issue, the symptoms are identical to the berry glitch from Ruby and Sapphire (but it affects Emerald as well) but the fix is different. There are several different ways to fix this:
- Start a new game.
- Use homebrew to edit the offset. The original Game Boy Advance version has been taken down as the original site was not maintained. It may be found by searching “rtcread.gba” (or just clicking here) but otherwise the software has been ported to DS as well. Run the software on a DS or DS Lite with a SLOT-1 flash cart and the game you wish to fix in SLOT-2. From there, set the date to a date that is at or past the previous offset. The current date is usually a good bet. This is the least destructive method.
- Use the pokemon-chest DS homebrew (will require dumping the save and running on a DSi or 3DS or running directly on a DS or DS Lite with an R4 or equivalent) to reset the RTC. This is similar to the method above.
- Dump your save and use PKHeX or similar save editor to enable the clock reset flag and variable, flash your save back to the game, then boot the game and press L+B+Select on the title screen to use the official clock setting tool.
- Dump the save and use a hex editor to adjust 0x00A0 (the RTC value offset). PkHeX may also be able to do this for you.
- There may be other methods and this guide will be updated when appropriate but any of the above methods are tested and will resolve the issue. Do note that some methods rely on changing the software value while others will change the hardware value. Do not change both or your issue will not be resolved. Pick one method only. A good way to ensure that things are working properly is to go to Littleroot town to check the current in-game time, participate in the Lilycove Lottery, wait until midnight, and try to participate again.
Game does not boot
This problem more commonly affects original Game Boy (Color) carts but may also affect Game Boy Advance carts as well.
When starting a Game Boy console with a game inserted, the console freezes on the boot screen with a garbled or incomplete Nintendo logo. Another manifestation can be if the cart does boot but seems to freeze on startup or intermittently. As a form of copy protection, the actual “Nintendo” logo is stored within the ROM of the game and read by the Game Boy when booting and compared to a copy stored internally within the Game Boy. If the console cannot read this logo, it does not boot the game.
What to avoid:
You may have heard of the below as potential fixes for carts not reading, but they are a bad idea in the long run:
- Terrible Idea 1: Blowing in the cart / console: Do not blow in your carts or your console (this is what years of blowing looks like on the cart reader).
- Terrible Idea 2: Sandpaper: Do NOT use sandpaper. Ever. This will cause damage to the pins and create small crevices for dirt and other detritus to gather and will cause more issues in the long run. If you’re going to do this anyway, no less than 2000 grit but higher is better. This is still a very bad option. The above option will work better even though it will take more time or supplies you don’t have. There is no shortcut here.
- Terrible Idea 3: Soldering to contacts: Soldering directly to the contacts is never acceptable except for data recovery purposes. Solder on the gold contacts is a bad idea for several reasons, the first is that the solder will form a non-conductive oxide layer on the outside when subjected to repeated physical wear. Best case scenario means that you’ll have to disassemble the cart and redo the contacts again with more solder. Worst case scenario is that the oxide layer will rub off onto the cart reader of your Game Boy and start causing issues reading ALL of your games. This is also why your cheap reproduction/bootleg cartridges with the silver pins need to be cleaned constantly or only work for a month or so.
What to do:
- Check where the problem lies:
- Check another game. If multiple games behave the same way, the issue is probably with your console. Check your mods and ensure there are no shorts or clean the cart reader.
- Check another Game Boy. If the cart fails to boot on that too it’s probably the cart - try some of the below options.
- In and out: Simply remove and reinsert the game. If this does not help, the most common cause is dirty pin on either the cart, the console, or both. If cleaning the cart and the console does not resolve the issue, another common cause may be broken solder joints.
BOBdotEXE sums up these troubleshooting steps nicely.
- Other useful video resources for common cart problems - Voultar and TronicsFix
-
Disassemble: The cart may be cleaned without disassembly but disassembly does make the job easier. You may also take this opportunity to service the battery (if equipped) and to inspect for damage or corrosion. Recommended cleaning method is isopropyl alcohol on a cotton swab. Gently rub an isopropyl alcohol saturated cotton swab along the pins. Repeat with a fresh swab and more isopropyl alcohol until the swab comes away from the pins clean.
-
Artist eraser: If you can disassemble your cart, a better option for cleaning the pins is to use an artist eraser. Simply rub the eraser along the pins until they appear cleaned. Please see the above video for an example.
-
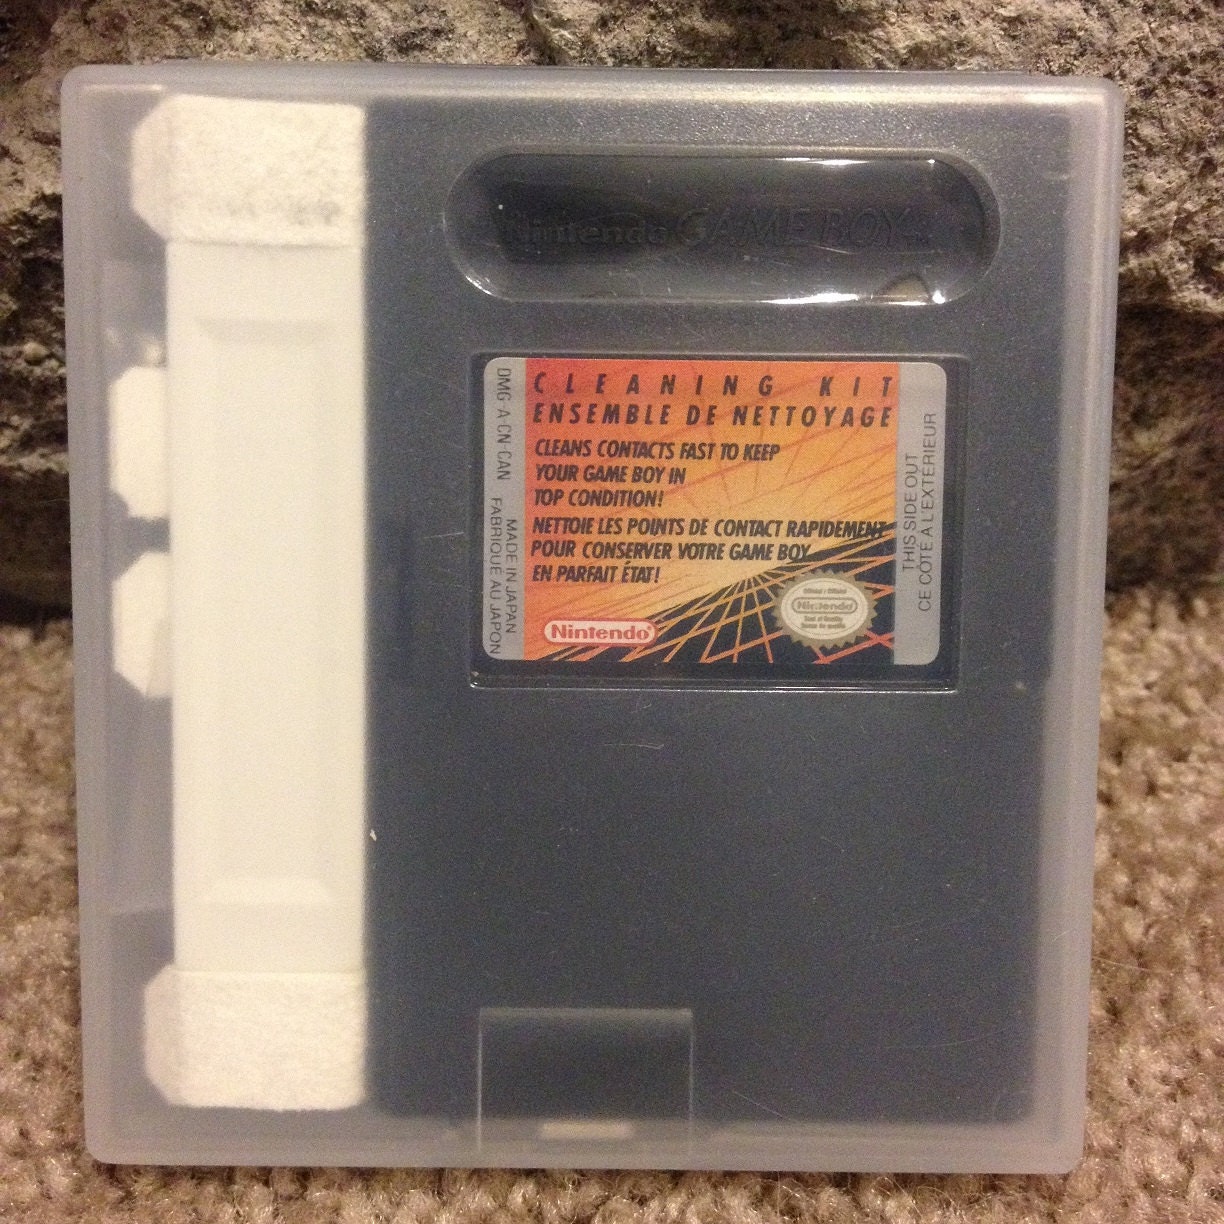
Cleaning kits: The cart reader may be cleaned with the official Game Boy cleaning kit but since you likely don’t have one of those (not gatekeeping, they just didn’t sell well and have been long since discontinued), there are also third party options available. Another good option is to use a credit card sized object wrapped in a cotton t-shirt or similar thickness lint free cloth and use that to clean the cart slot. Isopropyl alcohol may help this process, same as above. If using this method, always move in and out and never side to side else you risk damaging the pins.
-
Inspect for damage: Visible damage or corrosion to the cartridge pins is a bad sign. It may be indicative of other issues but will need to be dealt with before moving on. If a gold finger is broken or disconnected, unfortunately, it’s game over for that cart. You’ll need to replace the PCB with a suitable donor, or, if applicable, a new PCB. As long as the contacts are only damaged or dirty on the surface, they can be restored.
- Broken solder joints: Game Boy game PCBs are very thin at 0.9mm thick and, unfortunately, very flexible. Over the years, inserting and removing the cartridge will cause the PCB to flex a little and this will put stress on the solder joints. Eventually, this stress will lead to fractures and these fractures are just small enough to not be visible to the naked eye but big enough to cause electrical connectivity issues. While annoying, the solution is rather simple, albeit difficult if you’re not experienced with soldering. You’ll need to redo the solder on the pins of the MROM chip (the one on the lower right in most Game Boy cartridges) and potentially the MBC chip as well (the top left in most Game Boy cartridges). Removing the battery, if equipped, while resoldering is highly recommended. See the above linked video for an example on redoing the solder joints in the cart. Using flux will yield significantly better results.
- When inspecting a cartridge for stress fractures, you’d have to do it with the game assembled and inserted into a console otherwise the PCB will not flex and the fractures will not be visible. Due to the optical properties (i.e. not invisible) of the casing and all Game Boys, this makes physical inspection nearly impossible.
- Light abrasives: Light surface damage, corrosion, or other gunk that cannot be cleaned with isopropyl alcohol and a cotton swab can still be dealt with but will require more extreme measures. Sometimes, the contacts will need a good scrub but if that absolutely does not work, another option is a mild abrasive. This is only for visible issues. If the pins are visibly clean, do not polish them. Some people have reported success with Brasso or other surface polishing compounds, other people use a baking soda paste. When used very liberally, compounds like this generally will take off anything built up on the surface layer of the contacts without actually damaging the contacts. When using this, you only want to use up and down motions to polish, not side to side as this may clean the pins unevenly. Make sure you clean up afterwords with isopropyl alcohol or whatever your preferred cleaning solution.
Corrupt or missing sprites (especially in Pokemon RBYGSC)
- What is it? When playing the game, “large” sprites will appear with data missing (corrupt) or just as a black square. This is especially apparent in the opening scene with Prof Oak or in Pokemon battles in the Pokemon games. Some games will use a portion of the save RAM to cache data and this issue occurs when the save ram is missing or otherwise not working properly.
- How do I fix it? Well, the most common fix is actually the exact same as the above fixes mentioned in the “game does not boot” section. Walk through the same fixes recommended there in order. Specifically, try cleaning the pins and if that does not work, you’ll need to work your way up to touching up the solder joints on the SRAM chip (bottom left) and/or the MBC chip (top left).
Bootleg spotting: Check out this visual guide or even the /r/gameverifying wiki
Common problems
Power LED behaves erratically
The console’s power LED flickers, low battery light comes on early or intermittently, or the console randomly resets are all issues caused by a dirty or faulty power switch. Dirty or damaged switches can usually be fixed by cleaning out the switch.
The most effective method to clean the power switch is to disassemble the switch and ensure everything is clean all the oxidation and buildup from the inside-out. The far less effective method to clean the switch is to spray contact cleaner or isopropyl alcohol inside the switch and simply work the switch back and forth. Make sure to let the switch dry out before turning it back on. Opening the switch is the most reliable and best long term solution. Other methods may still help, but should be considered a temporary fix.
AGBs exhibit a flickering lower power LED and are the simplest to clean. Video
CGBs and MGBs share a similar physical switch body and are opened the same way. Cleaning the power switch is the same method as AGB. Video
Game Boy won’t power on
-
On an unmodded console, the most common issue is a dirty or damaged power switch and can usually be fixed by cleaning out the switch. See above.
-
Blown fuses are a bit harder to fix simply because of the tiny soldering required. To test your fuse, a multimeter is usually needed. Simply measuring continuity across the fuse will tell you if the fuse has blown. Continuity shows power is flowing and the fuse is good. No continuity means the fuse has blown and opened circuit. Most Game Boys have two fuses, usually marked “F1” and “F2” on the main boards. Usually one fuse is connected to the battery terminals and the other fuse connected to the external power input, ie charging port in AGS and OXY or DC jack on CGB and MGB. Note, fuses are safety devices and a blown fuse is cause for further investigation and diagnostics. Please see this (WIP) list of Game Boy components to find the proper replacement fuse.
-
Damaged DC power jack in a Game Boy Pocket or Game Boy Color system can make the console appear dead. A simple USB to DC power adapter can help diagnose this issue. Similarly to the headphone jack, a physical switch exists in the DC jack that disconnects the battery terminals from the system when on DC power. Contacts within the DC jack may corrode from moisture and open the physical switch permanently. Careful cleaning can help, but with the center pin in the way, thorough cleaning may be difficult. Limited new and used DC jacks are available through eBay and AliExpress. For diagnostics, pin 2 and 3 as labeled on the console may be bridged. This should not be a permanent fix without fully removing the DC jack. Applying power to batteries with a DC jack inserted is dangerous. Alkaline batteries can explode.
-
Bad battery or battery connector in some models can cause issues. In models that came with rechargeable batteries (AGS and OXY), the battery may need replacement. AGS OXY On alkaline models, the connectors can get dirty or completely corroded. In cases of mild dirt or corrosion, a simple clean with a cotton swap and isopropyl will resolve the issue. In heavier cases of corrosion without physical damage, distilled vinegar and a cotton swab may be used to clean away all the corrosion. Terminals can be desoldered from the console and removed from the case shell to be soaked in vinegar for more severe corrosion. When vinegar is used, isopropyl should be used to wash away the vinegar as it is corrosive and will damage the board. In extreme cases of corrosion and battery leakage, the terminals will be corroded through and require replacement. DMG MGB MGL/CGB AGB
Common audio issues
There are a few potential causes for these:
- Fuzz or static when using headphones is especially noticeable when twisting the plug in the jack. It’s a pretty rare problem but generally easy to fix. Usually the headphone jack becomes dirty or corroded from moisture. Contact cleaners such as CRC/QD Contact Cleaner or DeoxIT can help clean out the port. For heavier cases, applying the contact cleaner to a cotton swap or pipe cleaner and thoroughly clean out the headphone jack. If corrosion is too severe, it may cause speaker issues as well.
- The headphone jack is dirty or bad: Every Game Boy headphone jack has a physical switch that is actuated by inserting headphones. When this switch is open circuit, the Game Boy switches the internal speaker off. Corrosion or physical damage can cause the physical switch to be always open, meaning the console never switches the speaker on. Clean the headphone jack as thoroughly as possible. If a replacement is required, these parts are custom for Game Boys and will have to be sourced from donor consoles. There are very limited new-old-stock parts available. DMG AGB/CGB/MGB share the same port. NOS parts were once available, but are no longer for sale. This is a unique part due to the footprint and internal switch.
- The speaker itself may be bad - You can test this by desoldering the speaker and measuring the resistance across the contacts with a multimeter. You should get 8 ohms on a good speaker. Anything else (or open circuit) means a bad speaker. Speakers can be replaced as there are OEM-fit aftermarket replacemnents. However, speakers that go bad are usually a sign that the capacitors should be changed. BennVenn explains it, and while it is specific to the CGB, the concept still applies to other consoles. DMG MGB/CGB AGB
- Dirty volume wheels can also be the cause of low volume or fuzzy/crackling sound. The wheel cannot be disassembled for cleaning. Cleaning involves spraying contact cleaner such as CRC/QD Contact Cleaner or DeoxIT and working the potentiometer through its full range multiple times to wash out contaminants. For fully corroded volume wheels, replacement is the only option. New-old-stock replacements are available, but limited. The only reliable source is from a working console. Schematics for all systems are available, and verifying the value of the potentiometer is possible.